
God created the world
But the Dutch created Holland (Descartes or Voltaire, I can’t find out for sure who!)
Of course I have my own saying to add…..
God created the world,
But Ladurée and Pierre Hermé ‘created’ Macarons (This is all me!)

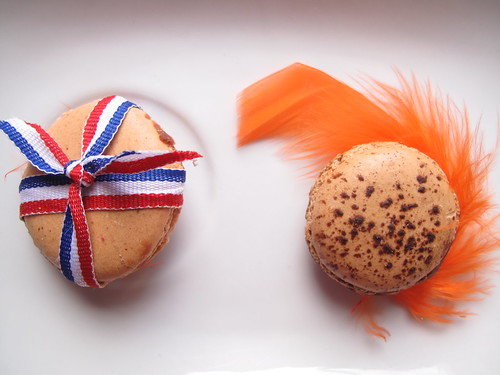
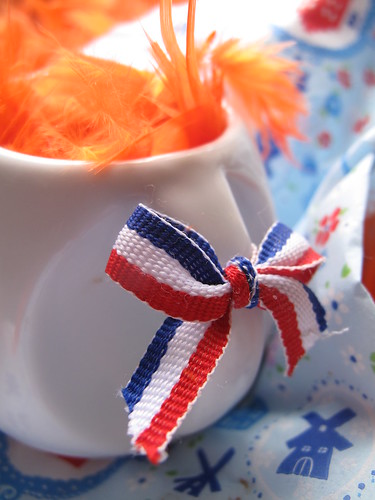
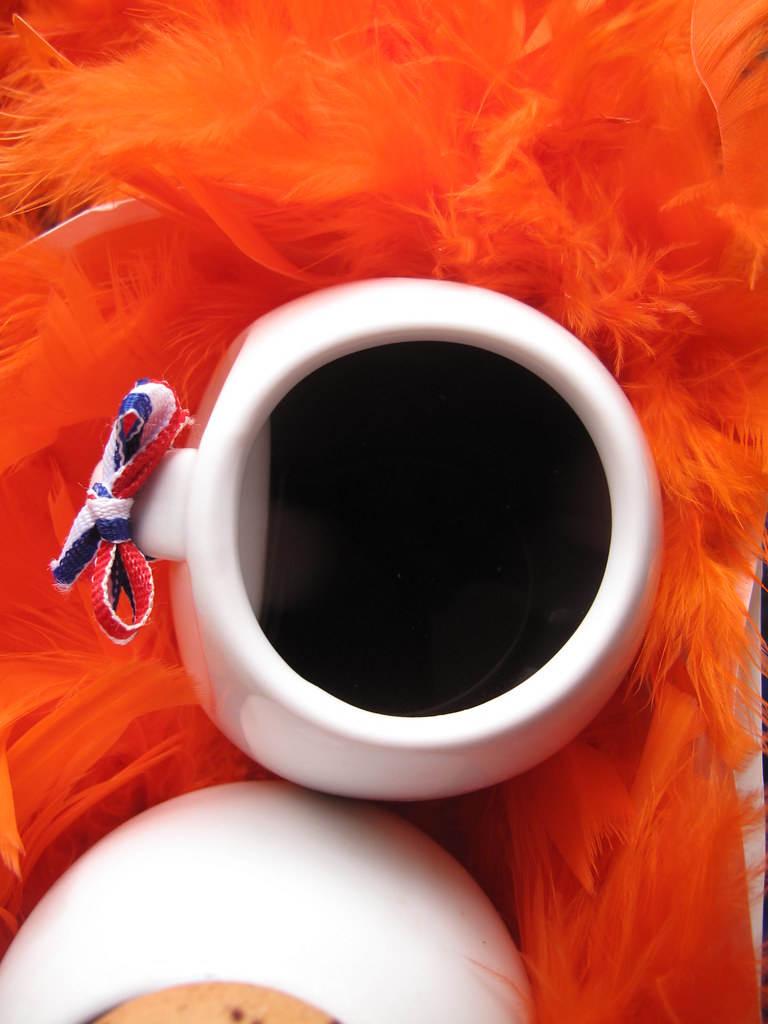
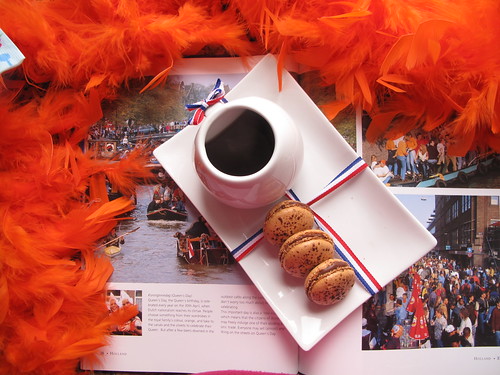
This year, I will be celebrating Queen’s day aka ‘Koninginnedag’, (also fondly called Orange craze or madness), even though I have neither orange shoes nor hat to match, perhaps a feather boa would do, or hair even. I am considering making batches of this delicious macarons and selling them on the day. Courage fails me for now but we shall see!
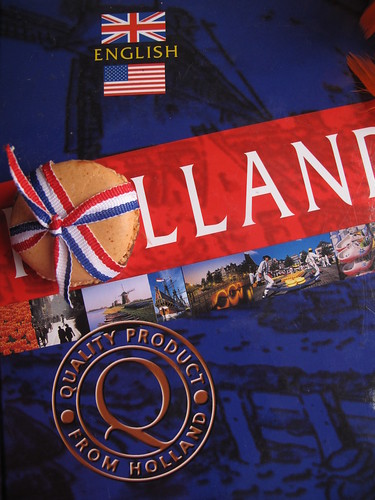

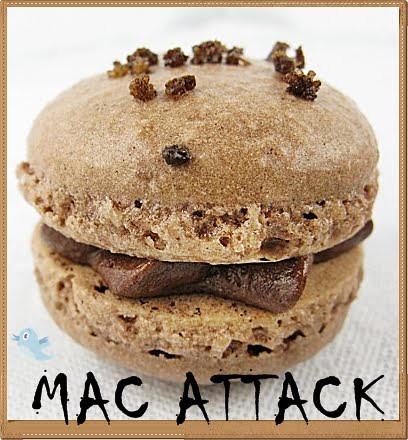
In this month’s MacAttack, the theme is ‘Holiday celebrations’ and I’ve chosen to go orange, for Queen Beatrix, the monarch of the Netherlands.


 Forget that I’ve missed the official deadline for the post, which was 2 days ago. I decided to honour Queen Beatrix – what if she never gets to see these macarons, not to talk of taste them? I know for a fact though that her representative in our home will do it justice – this being my almost 3 year-old son who knows macarons like he knows his diapers. He only has to see me piping out the circles and he starts screaming and dancing. He hasn’t reached the phase of lauding me when I do my short ‘pied’ dance but the day will come.
See, people usually give the Queen gifts on her birthday. Last year, I happened to go to a lovely shop just after Queen’s day and received some fantastic orange tea, which had been presented to the Queen only days before. I think I may have to wait till I open my mac shop and become a purveyor of only the finest and cutest cookies the world has ever seen!

If you know anything about the Dutch, it should include the fact that they are a very ‘together’ people – cool, calm and collected is the trio I’d use to describe them. But not on the last day of April, when there is an unrivalled outpouring of love for royalty by ‘Nederlanders’, celebrating the Queen’s official birthday (and unofficially, her mum’s, the former Queen Juliana). On this day, streets, bodies and more and festooned in orange, almost anything can be sold (with some exceptions) on the streets without a permit and usually, the weather is pretty good to ensure that it is enjoyed by all.
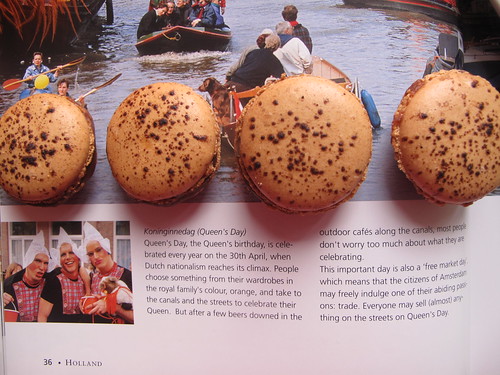
Some things you should know about Queen’s day
- It was first celebrated on August 31, 1885 and continues to this day
- The day is all about total Orange madness, and the House of. Orange everything from food to people to… cows
- There are huge street parties and free markets (spring cleaning casualties) round the Netherlands
- The Reigning Queen, Beatrix’s birthday is January 31, but she officially celebrates it on her mother’s birthday (the former Queen Juliana) on April 30. This is because January is too cold for the ‘volksfeest‘ (folks party, literal translation from Dutch).
- The celebrations are a not very common show of affection for Royalty (even more suprising) from a traditionally reserved country
———♥———
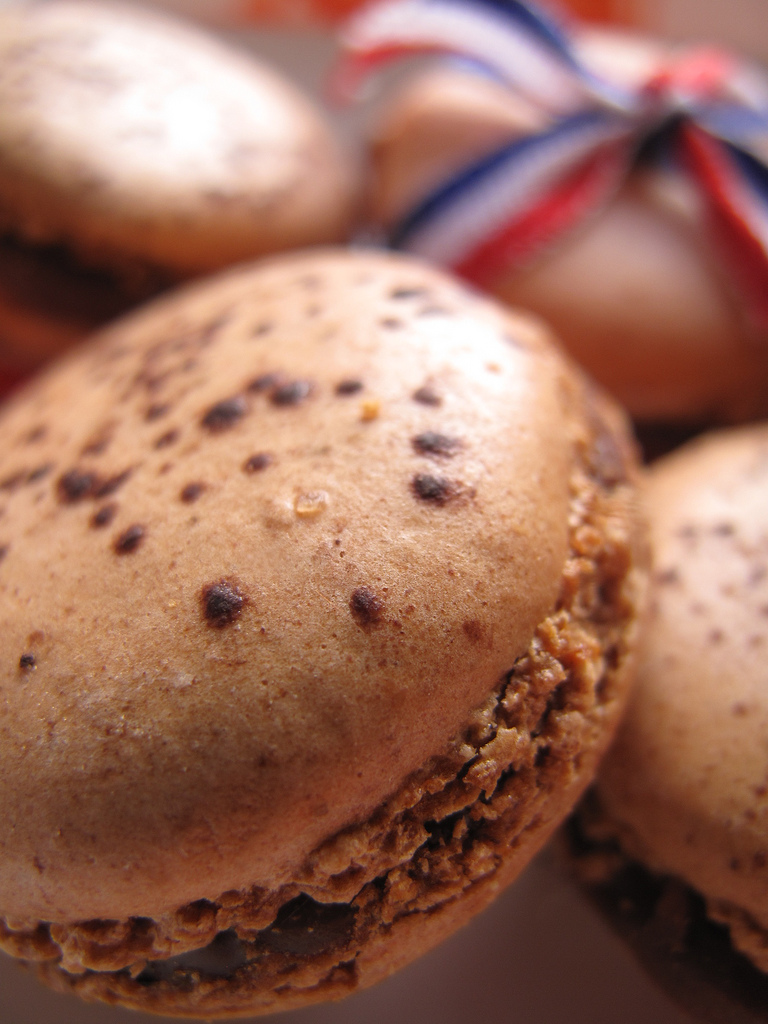
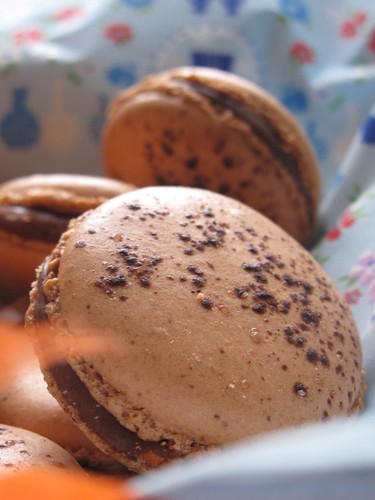
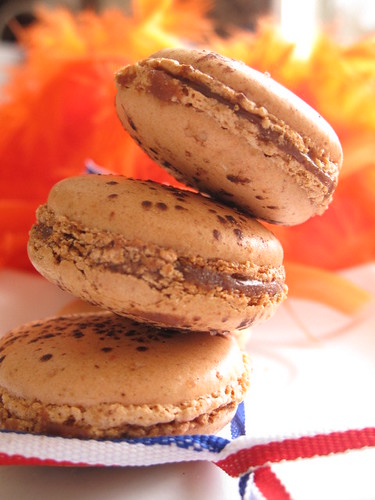
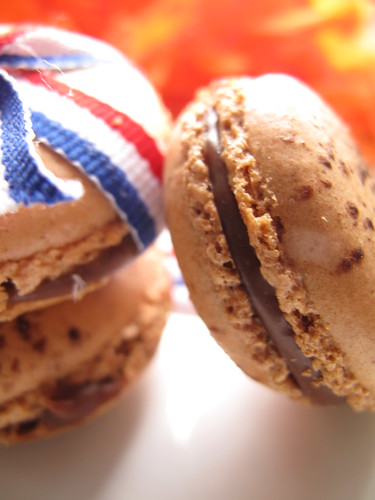
The theme and flavour of these macarons are Orange. Is that a surprise after setting your minds awash with flames of colour?
I’ve also decided that Macarons are not so bad after all and this time I decided to do them properly, from start to finish. By that I mean, no more ‘hastily put together filling’, and no more eating fresh from the oven. I fended the kids off with some mac shells but kept the majority of the successes and ‘failures (recipes to be shared in the week to follow) for ‘proper mac work’. Plus, after the successful testing of two of my Italian meringue Macaron recipes, which were editors picks at food52, I decided to have a go at making French Meringues.
Armed with my new book, I ♥ macarons, delivered to me from Play.com , I was ready.
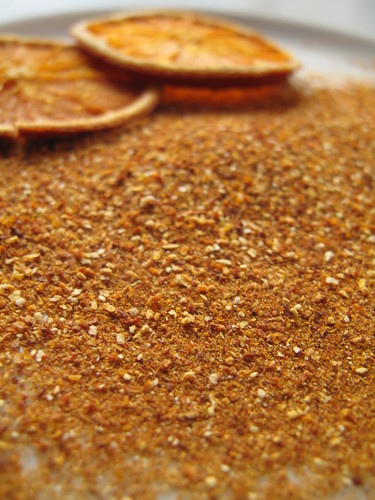
The first thing I did was to make some orange dust. Thanks to mademoiselle délicieuse….who suggested the citrus dusts would be mac-perfect. The first time I made citrus dust, it was easy to pulverize the dried wheels, straight from the oven but by the following day, those that hadn’t been ground up were soft. I put that down to my oven temperature being too high.

This time, I used a lower temperature to dry the orange slices. It took about 3 hours and when they were ready, I just left them overnight in the oven. The next morning, they were crisp and ready for powdering. I ground them as fine as I could and then using a series of sieves, I got two batches – 1 of very fine powder, perfect for my macarons and the other is still in a Ziploc, waiting for inspiration.
I also began to age egg whites, which I bought in a carton, and dry my almond meal. By Saturday morning, all was ready and the experiment began.
I read the recipe thoroughly, except for the section where it talks about refrigerating your almond meal and icing sugar while making the meringue. Thankfully, things turned out great.
The one thing I really enjoyed about the recipe was the fact that you didn’t need a scale to measure out the ingredients but could use cups instead. The recipe has each ingredient measurement listed in imperial, metric and ‘cups’.
Tips
Don’t balk at the amount of icing sugar. I did! It seemed like a lot but, I went with it anyway, and in the end it was perfect.
Using the egg whites from the carton I measured out roughly 30g of pasteurised …per egg white (an average medium-sized egg white weighs about 28g)
Colours – this was the trickiest part for me. I am glad it worked even though I was not very impressed with the resulting hue. I have now added gel colours to my list of things to buy, an ever lengthening compilation might I add!
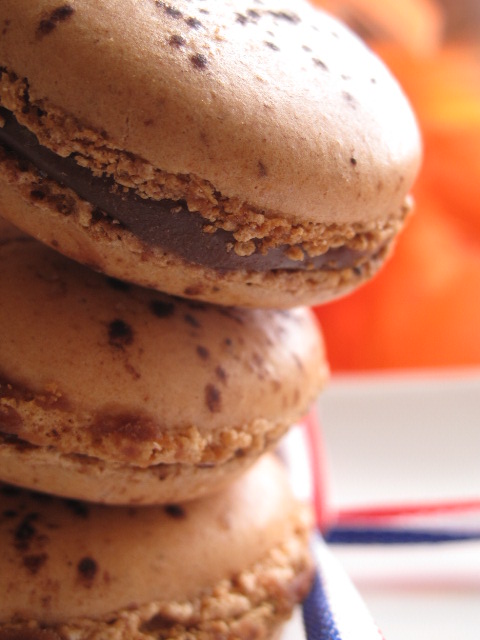
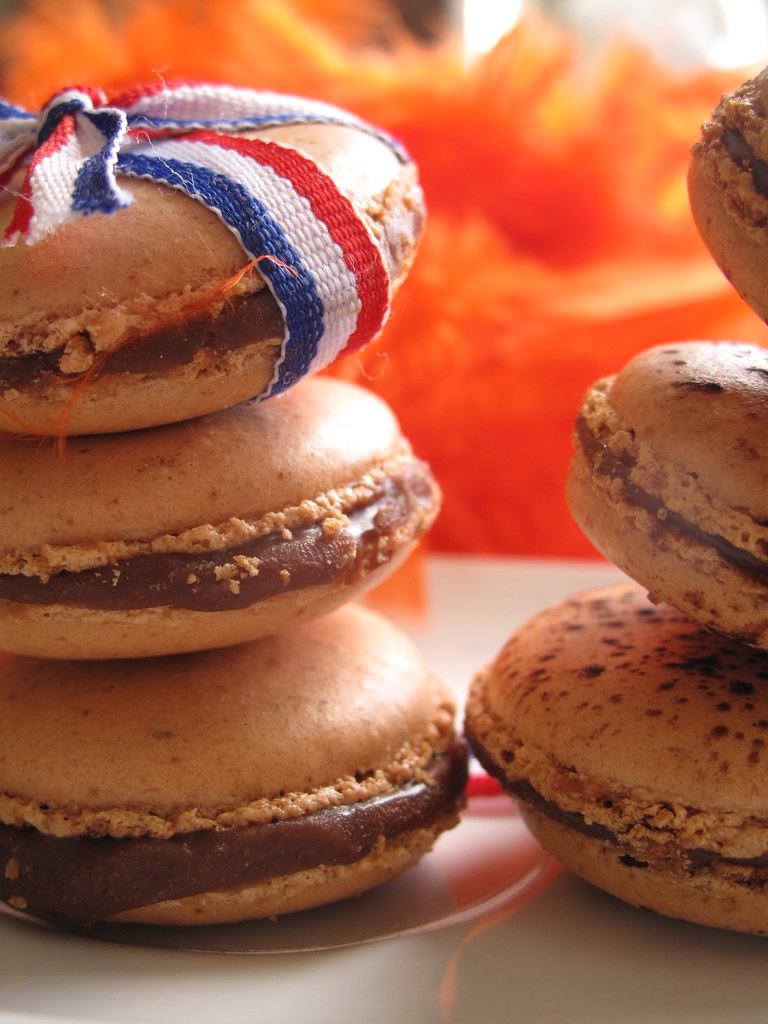
The macs appear to fill out overnight. The small hollow between the shell and feet fuse and actually becomes infused with a moistness and colour previously absent!
The recipe, adapted from I ♥ Macarons by Hisako Ogita
For the macarons
Ingredients
2/3 cup almond meal 1 1/2 cups icing sugar 3 large egg whites, at room temperature 5 tablespoons caster sugar 3 teaspoons orange dust Red and orange food colouring { I used liquid} Cocoa powder, to sprinkle
How to
Prepare you baking trays by placing one on top the other, before placing the silicone mats/silplats or parchment paper (in case you don’t have the other two).
Sieve the almond meal, icing sugar and orange dust together a couple of times
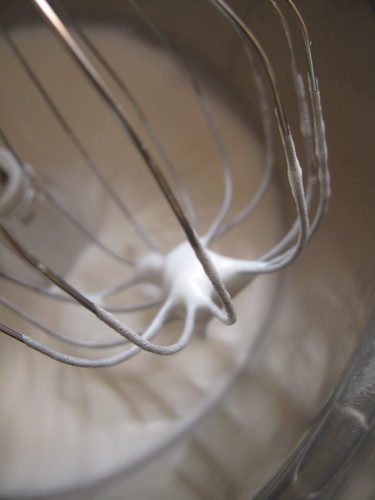
In a mixer, whip the egg whites on high speed till they are foamy (about 2 – 3 minutes). Gradually add the caster sugar to the egg whites as they whip in a slow, steady stream. Continue to whip on high speed until the meringue is stiff, firm and has a glossy texture, about 3 – 4 minutes.
Add half of the sifted flour mixture and stir with a spatula while scooping the batter up from the bottom of the bowl.
Add the rest of the almond-sugar mixture and mix it lightly in a circular motion.
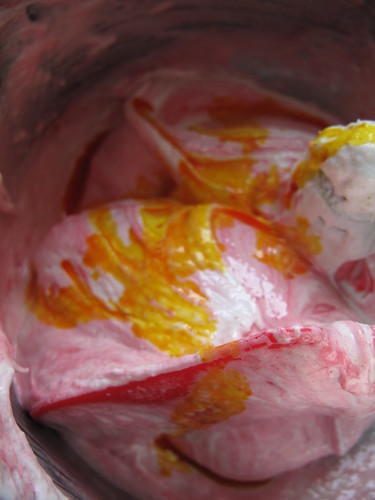
When the flour is incorporated in the meringue, scoop the batter, pressing and spreading it out against the sides of the bowl. Add the food colouring and then begin to and then scoop from the bottom and turn it upside down.
Repeat this process about 15 times {I didn’t count}.
When the batter becomes firm and drips slowly as you scoop……(lava style), you’re ready, the mixture is done!
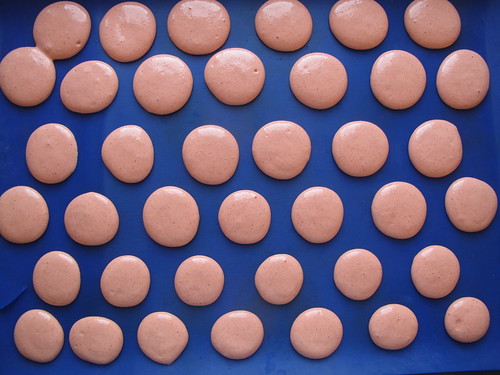
Pour the mixture into a piping bag (or a ziploc, like I use) and pipe the batter onto your lined sheets in alternate rows, remembering to leave a couple of centimetres between the batter circles.
Then, rap the sheet firmly on the counter.
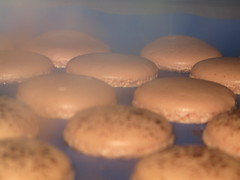
Let the piped batter sit at room temperature for 15 – 30 minutes, if you can till, the tops have dried such that when you touch them, no imprint is left.
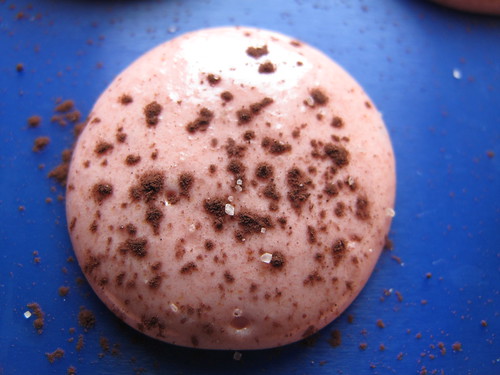
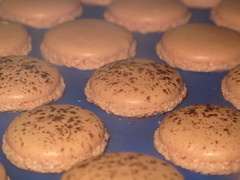
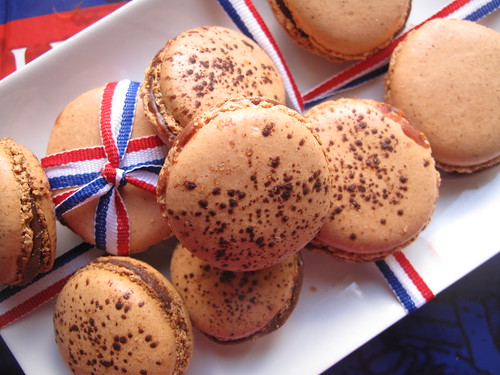
Just before they went in the oven, I sprinkled some cocoa powder over the top of some….just for the fun of it!
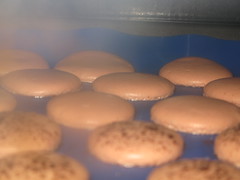
Preheat your oven to 190C or 375F and bake the macarons in the centre for 15-18 minutes, turning the tray halfway through baking.
I sat in front of the oven, waiting for the feet to appear. Silly, right?

If the insides are still soft, lower oven temperatures to 150 C, cover with aluminium foil and bake for another 2 -3 minutes. {I had to do this}
When they are ready, let them cool till you can easily remove them off the sheets. If things are getting tricky, use a sharp knife to gently lift them off! For those who use parchment paper, gently lift the parchment sheet (with the macarons) off the tray and dampen the baking tray with water and then set the macaron lined sheet back on the tray. This will help the macs come of easier.
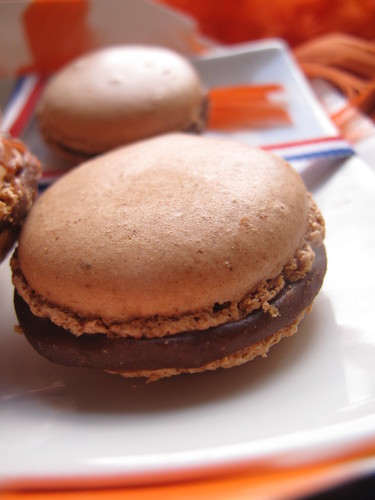
Fill with cream of your choice by placing macaron halves and topping each half with cream. Then place another to create a sandwich and then refrigerate to set (ideally overnight) but if you can’t wait……eat straight away!
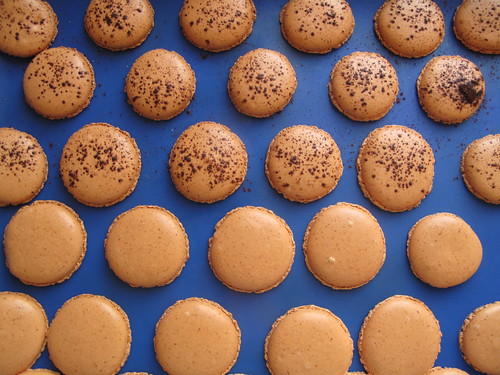
I was suprised to see the colour that I piped was not the colour that came our of the oven!
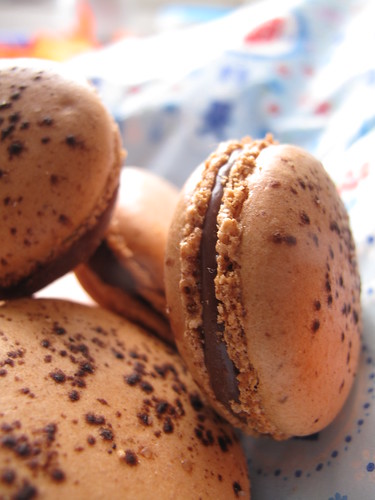
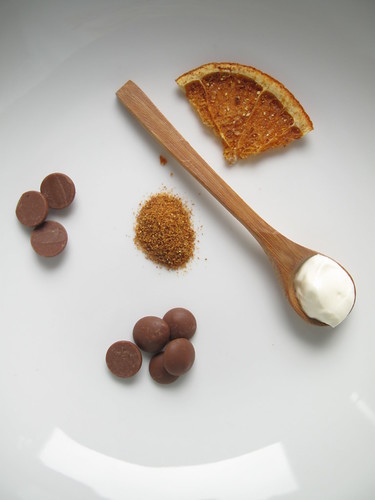
For the Orange flavoured ganache
Ingredients
150g Creme fraiche 150g chocolate (milk/dark), grated (if using buttons, warm them up in a bain marie or in the microwave, to soften)1 – 2 teaspoons orange dust 1/2 teaspoon vanilla extract 1 – 2 teaspoons icing sugar (optional, if using dark chocolate)
How to
In a small pan on low heat up, warm up the creme fraiche, whisking to loosen it.
Add the chocolate to the creme fraiche mixture and take off the heat.
Add the orange dust and vanilla extract and whisk together till well combined and glossy.
If using dark chocolate, feel free to sweeten with some icing sugar.
Refrigerate till ready to use. This ganache freezes very well too. It is my staple for princess cupcakes!
Tip
I find I get the best shine/gloss in the ganache when I use half milk and half dark chocolate!
I love this macarons so so so so much that I’m scheming to make them again!
It was interesting to note about my Italian meringue macarons vs this French meringue macaron:
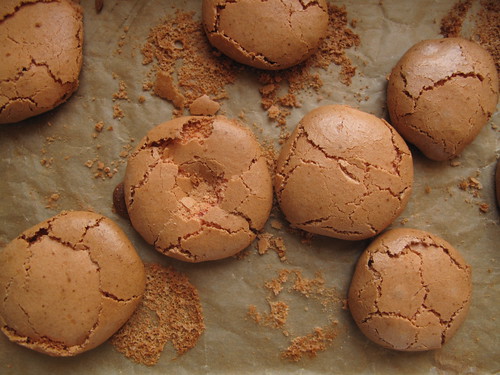
1. The batter: I now understand why people say the Italian meringue is a more stable batter than the French. My chocolate macs, made Italian style was baked in 4 batches, each requiring time on the counter, over a period of an hour. Each batch had feet, whereas my French method produced a perfect first batch and amaretti cookies (even if rather large and delicious ones) in the second bake. I suspect the next element may have played a role in this too. It appears too from notes in my book that French macs can’t stay too long at room temperature. Perhaps if I’d cooled my almond meal – icing sugar mix, things may have progressed better for batch #2. That we may never know
2. After piping my Italian meringues and doing the required ritual of dropping the baking sheet from on high, I didn’t notice a difference. Unlike with my French macs, where I noticed ‘bubbles’ bursting. This had me worried but thankfully, the pied came…..for the first batch!
3. Oven temperatures: I’ve always baked my Italian meringue macs at oven temps of 140 – 150 deg C. I was rather shocked to see 190 deg C being the recommended temperature for baking the French ones. While with my previous method I’ve always held the oven door open with a wooden spoon, this time, no such thing was called for. I suspect my second batch of French macs ‘failed’ because the oven was too hot. Next time, I’ll experiment with opening the oven door and letting some cool air circulate before shoving the trays in
4. The resulting macs: To me, the Italian meringue macs produced a shell with a very crisp top and a meringuey bottom, while the French mac tends to be more delicate. While the shell was crisp, the base was slightly softer and not as chewy. I may be wrong though as this is my first proper homemade mac!
I learnt
What the French meringue involves and I like it. I finally got to see lava flow…..I was surprised at how the batter went from stiff to flowing.
I found it a bit tricky to judge the quantity of filling needed, and used a teaspoon to mete it out rather than pipe. Things ended up getting a bit messy.
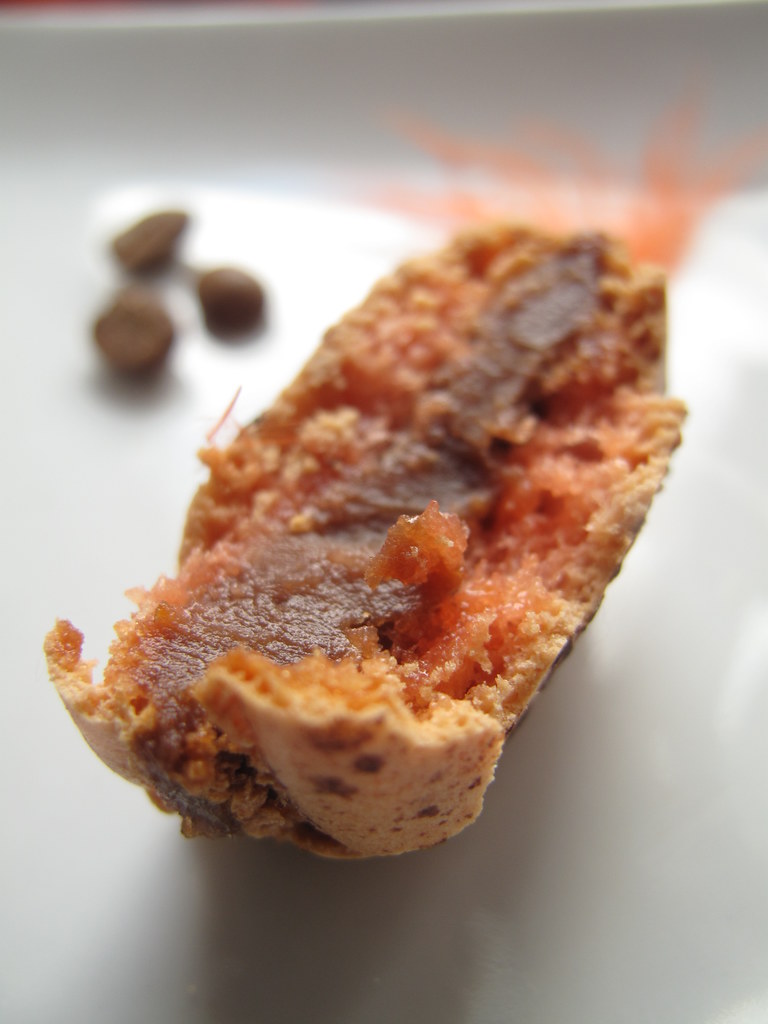
I was AMAZED to see the flavours and textures had changed overnight. A slice and bite through a mac revealed that the shell had become softer, but some how, the mac cookies had fused: rather than being shell and base, they had become one cookie, transitional from crispy outer, to brightly coloured inner and skirt/feet.
The taste was exceptional. While the mac is still not my favourite cookie, they are certainly well on their way to becoming highly ranked
According to the husband, these were the best macs he’d ever tasted. Daughter #1 loved them as did the son, who I saved the last one for. I was thrilled when my husband identified, and rightly too, the flavours of the macs. He said, you eat them and they taste lovely, but you really get the chocolateyness of the ganache, all finished off with a pleasant orange taste. Well, not in those exact words but that was his summary.
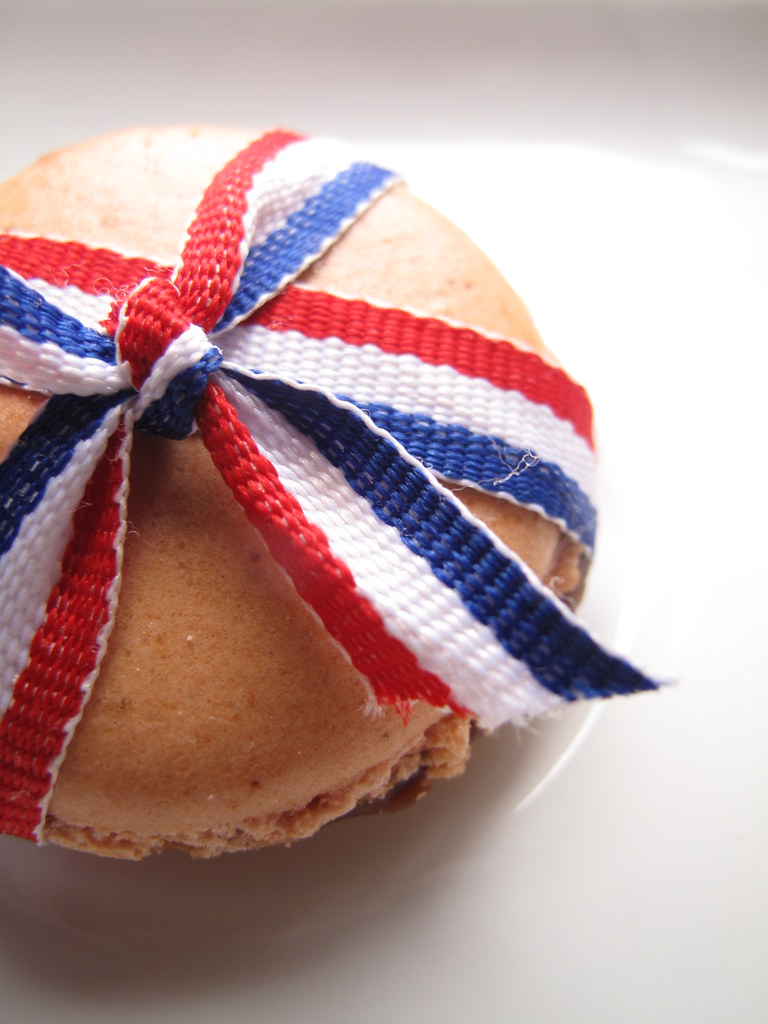
Plus, these were the most uniformly shaped macs……with perfect halves!
So here’s to the Queen.
*Clink*
At her request, I will make more of these….or at the request of my tummy………….
Promise to bring you the 2010 Queen’s day celebrations come April 30. Till then, enjoy and lots of love.
*Mwah*
[wpurp-searchable-recipe]Dutch Queen’s Day Macarons – – – [/wpurp-searchable-recipe]


[…] the city, like the rest of the Netherlands is beginning to go a bit orange, in preparation for Queen’s Day on April, the 30th. We spotted Macaron shells in the window of De Bijenkorf, The Netherlands […]
I tasted macarons in the Hague in October: in the middle was chocolate with little pieces of dried pears. It was nice !
[…] jams and curds, especially since I consider curds one of those things I’ve conquered, unlike macarons. I squeezed out juice from a couple of oranges, licking the dripping liquid which snaked down my […]
[…] It works well in temperamental dishes like macarons, where added moisture could be the difference between great success and spectacular […]
[…] Make a ganache […]
[…] the experience of making macarons at home, I think they are very well priced: the effort, the technique and the quivering heart, not a matter […]
[…] sold no macarons, or cookies, or anything for that […]
[…] I’ve attempted my own version of the Nanaimo bar and after great macs recently…and not so great ones, I decided to make some Mac-a-misú. The proper […]