Yes, we’re on take 3 of lemon curd.
Take 1 was making it in a bain marie, standing up and whisking endlessly till the curd formed
Take 2 was Engeline’s lesson – put all the ingredients together and whisk slowly.

Take 3? The ‘reverse creaming’ method is what I like to call it, a riff on a method in Fine Cooking. While they beat butter and sugar first, then whisk in eggs and yolks, I throw everything into my blender.
First of, cold butter not room temperature. I think it makes for a better, slower emulsification
Two, everything – but the zest – goes in the blender at once

Now, this reminds me of the reverse cake creaming method which I first read about on Smitten Kitchen. It’s a process where. It leads to cake layers which Deb describes as ‘…plush, fluffy’ with ‘flatter tops and a more even, plush crumb’….’for big layer cake projects’. She learned the method from Erin of Cloudy Kitchen. According to Cook’s Illustrated, reverse creaming is a method in which solid butter is combined with dry ingredients then incorporating the other ingredients versus the regular creaming method where butter is creamed with sugar and then followed by the other ingredients. The differences are in the manner of the crumb and the structural integrity.
So, yes, this method of making lemon curd makes me thing of the cake reverse creaming method.
Ingredients
- 85g (6 tablespoons) unsalted butter, cold and in chunks
- 1 cup white caster/ granulated sugar
- 2 large eggs
- 2 large egg yolks (reserve the whites for omelets or meringues)
- 2/3 cup fresh lemon juice (you can sub some limoncello here)
- 2 teaspoons grated lemon zest
Directions
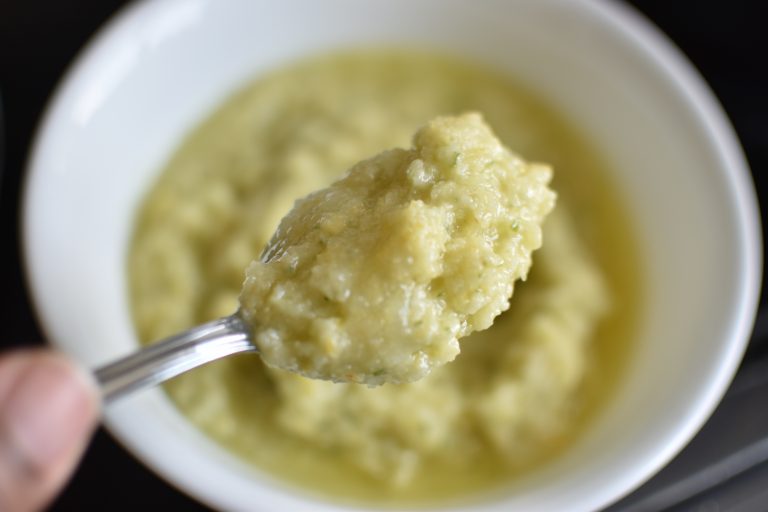
In a blender, combine the butter, sugar, eggs, yolks and lemon juice. Blend till combined. The mix will look curdled – never mind that.
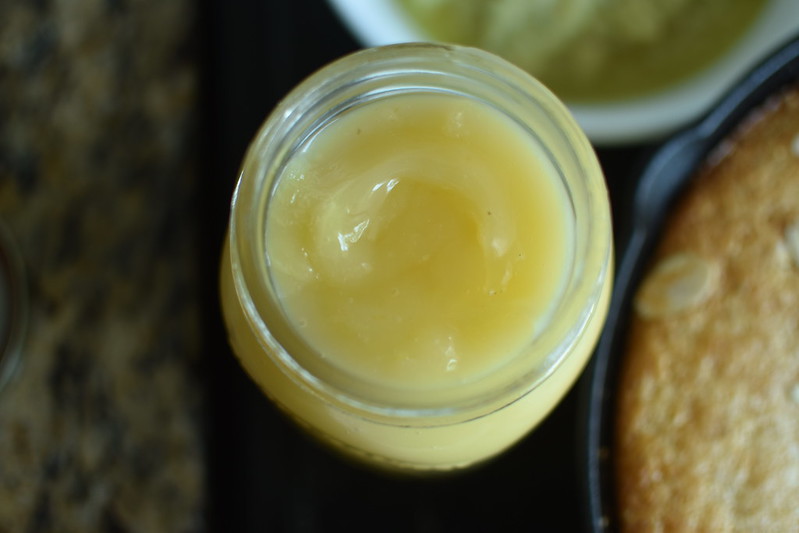
The curdled appearance is the butter – it dissolves and melts to create this lemony custard

Pour the mixture into a small pot and cook on low heat till smooth, about 3 – 4 minutes
Raise the heat to medium and cook, stirring constantly till it thickens, anywhere from 6 to 15 minutes. I love to use a whisk to make doubly sure no lumps show up.
When it’s ready, it will leave a path on the back of a (wooden) spoon and will read 170°F on a thermometer. Don’t let the mixture boil.
Remove the curd from the heat; stir in the lemon zest then transfer to a bowl. Press plastic wrap on the surface of the lemon curd to keep a skin from forming and chill in the fridge. The curd will thicken further as it cools. Covered tightly, it will keep in the refrigerator for a week and in the freezer for 2 months.